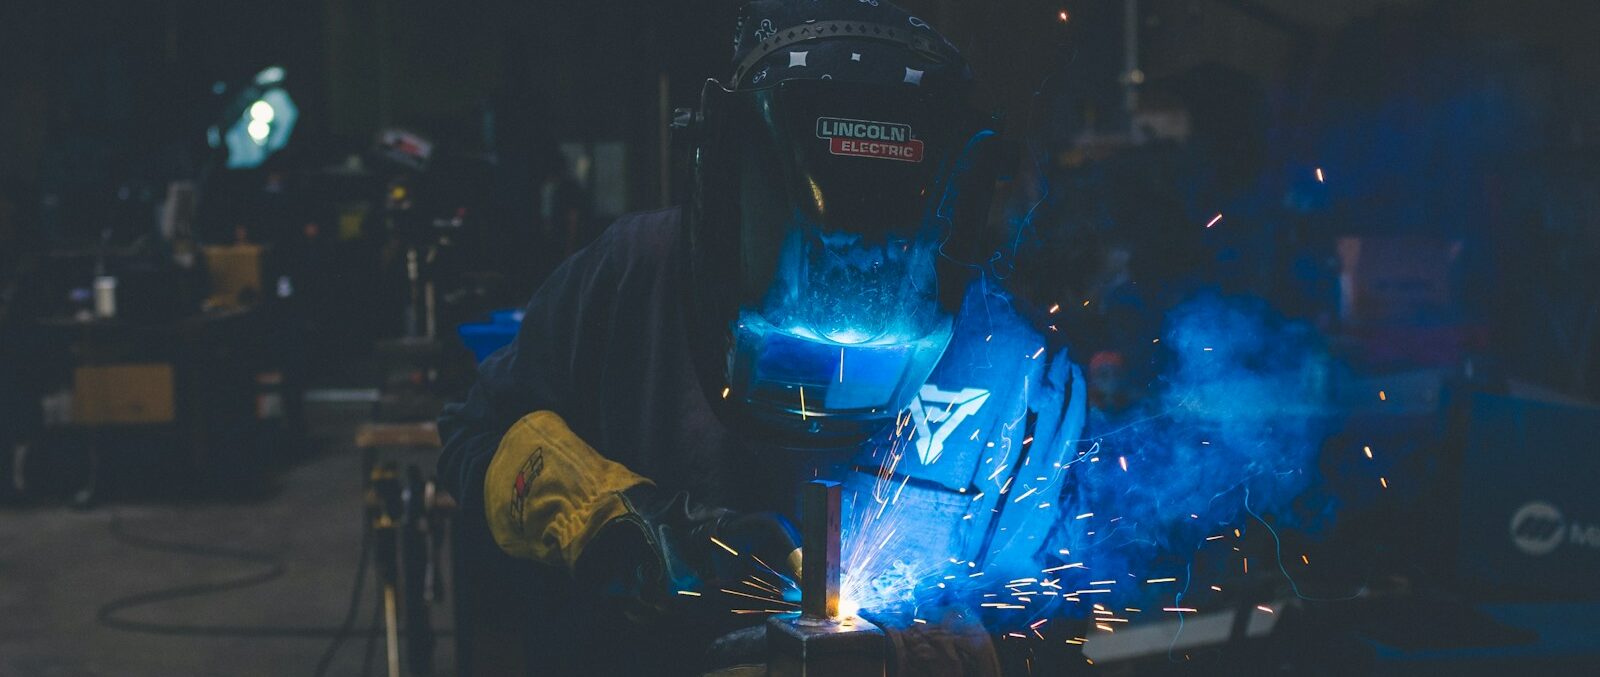
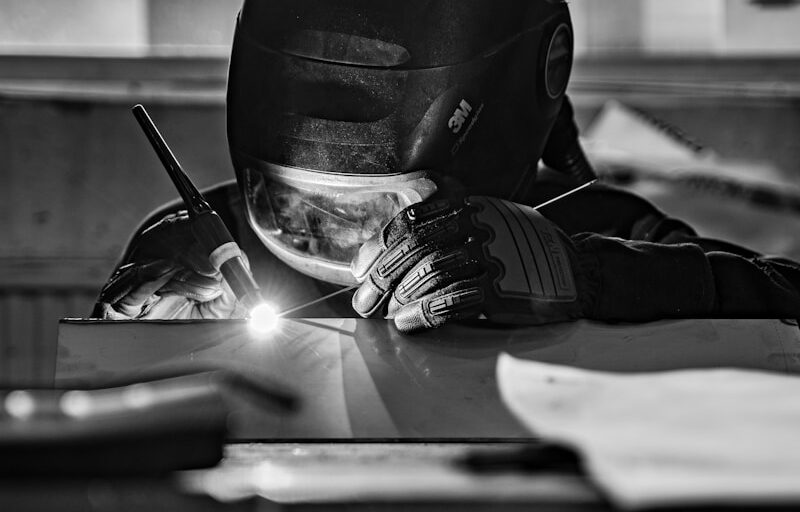
MIG welding is one of the most popular and versatile welding methods for both hobbyists and professionals. It is easy to learn, fast and strong, and can be used for a variety of metal types and thicknesses. In this blog post, we will explain the basics of MIG welding, including what it is, how it works, what equipment you need, and some tips and tricks to get started.
What is MIG Welding?
MIG stands for Metal Inert Gas welding, also known as Gas Metal Arc Welding (GMAW). It is an arc welding process that uses a continuous solid wire electrode that is fed through a welding gun and into the weld pool, where it melts and joins the two base metals together. A shielding gas is also sent through the welding gun and protects the weld pool from contamination by the air. The most common shielding gases are carbon dioxide and argon/CO2 mixes.
How Does MIG Welding Work?
The MIG welding process consists of four main steps:
- Prepare your metal. Before you start welding, you need to clean your metal from any rust, dirt, oil or other contaminants that can affect the quality of your weld. You can use a metal brush or a grinder to remove any surface impurities. You also need to make sure your work clamp connects to clean metal, as any electrical resistance can affect the wire feeding performance. For thicker metals, you may need to bevel the joint to ensure full penetration of the weld.
- Set up your machine. You need to adjust the voltage and the wire feed speed on your MIG welder according to the type and thickness of your metal, and the diameter of your wire. You can use the chart inside your machine or the Advanced Auto-Set™ technology if your machine has it. You also need to set the gas flow rate on your regulator or flowmeter to about 20 to 25 cubic feet per hour for light-duty welding.
- Position your gun. Hold your gun at a 10 to 15 degree angle from the vertical position, with the nozzle about 1/4 inch away from the metal surface. This is called the push technique, as you are pushing the wire into the weld pool. You can also use the pull technique, where you hold the gun at a 10 to 15 degree angle in the opposite direction, but this may result in more spatter and less penetration.
- Pull the trigger. When you pull the trigger on your gun, you will start the arc, which will melt the wire and create a weld pool on the metal surface. Move your gun steadily along the joint, keeping a consistent distance and speed. You can use different patterns to control the shape and size of your weld bead, such as straight lines, circles or zigzags.
What Equipment Do You Need for MIG Welding?
To start MIG welding, you will need the following equipment:
- A MIG welder with a power supply, a wire feeder, a spool of wire, a welding gun and a work clamp.
- A gas cylinder with a regulator or flowmeter and a hose to connect it to your welder.
- A welding helmet with an auto-darkening lens to protect your eyes from the bright arc.
- A pair of leather gloves to protect your hands from heat and sparks.
- A leather jacket or apron to protect your body from spatter and radiation.
- A pair of safety glasses to wear under your helmet for extra protection.
- A metal brush or grinder to clean your metal before welding.
What are Some Tips and Tricks for MIG Welding?
Here are some tips and tricks to help you improve your MIG welding skills:
- Practice on scrap metal before you weld on your actual project. This will help you get familiar with your machine settings, your gun movement and your weld quality.
- Use a proper technique for starting and stopping your welds. To start a weld, hold your gun slightly away from the metal and pull the trigger until you see an arc. Then move closer to create a weld pool and start moving along the joint. To stop a weld, move slightly away from the metal and release the trigger until the arc stops. Do not jerk or snap your gun away, as this can cause craters or cracks in your weld.
- Keep your wire stick-out consistent. The stick-out is the length of wire that extends beyond the nozzle of your gun. It should be about 1/4 inch for most applications. If it is too long or too short, it can affect your arc stability, penetration and spatter.
- Clean your nozzle regularly. The nozzle of your gun can get clogged with spatter or slag over time, which can reduce the gas flow and affect your weld quality. You can use a pair of pliers or a nozzle cleaning tool to remove any debris from your nozzle.
- Maintain your equipment. Check your cables, connections, wire feeder, drive rolls and consumables regularly for any signs of wear or damage. Replace any parts that are worn out or broken. Keep your machine clean and dust-free.
We hope this blog post has given you a basic understanding of MIG welding and how to get started. MIG welding is a fun and rewarding skill that can open up many possibilities for your projects. Happy welding!


